Getting Started with Rose API
This page will help you get started with Axle API for Rose Agent transaction monitoring API. You'll be uploading entities, transactions, and alerts for automated analysis by Rose.
Getting Started
Base URL
https://public.api.axleruns.com/api/v1/Authentication
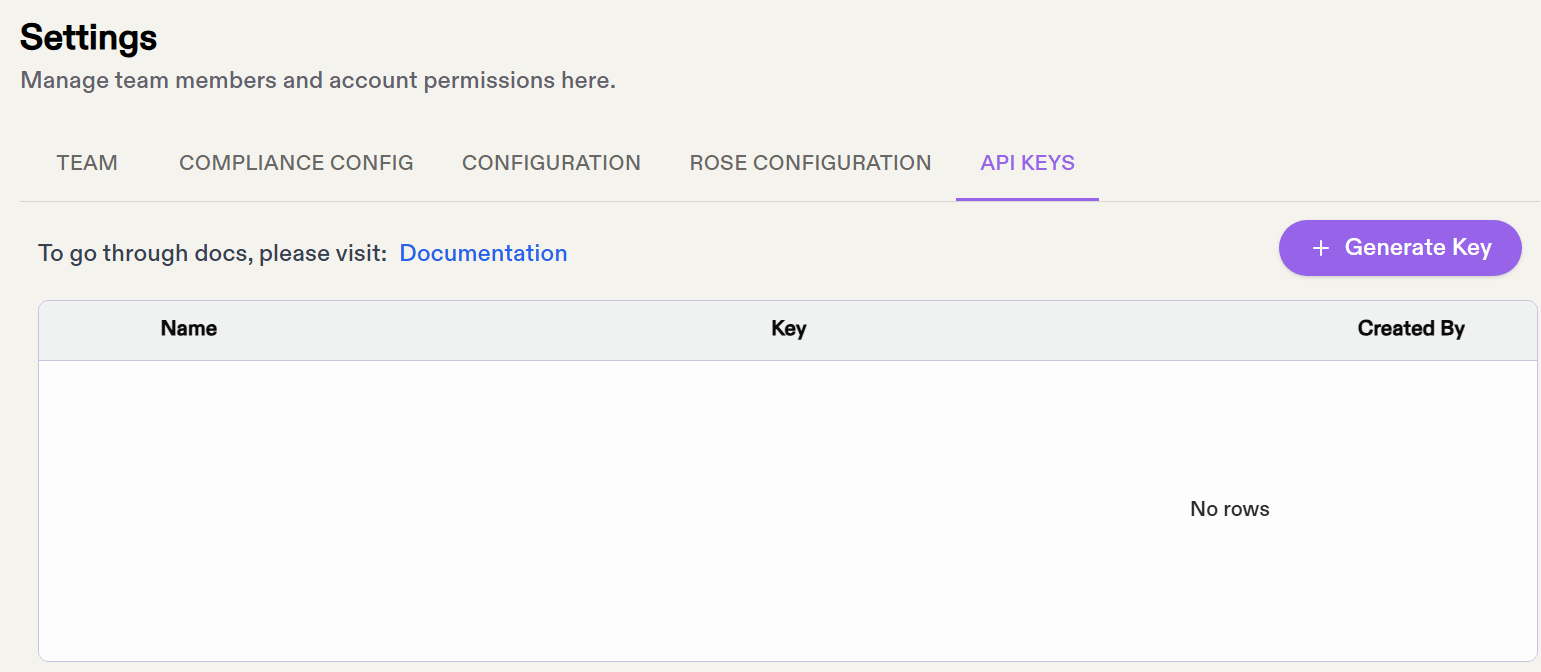
Obtain API Key
Please obtain an API key and set it in the X-API-Key header.
Go to the Settings menu, and navigate to the API KEYS tab, and click on the "Generate Key" Button.
Include your API key in the request header:
X-API-Key: your-api-key-hereContent Type
All requests must use application/json
Core Concepts
Data Relationships
The system works with three interconnected data types:
- Entities: Your customers (individuals or businesses)
- Transactions: Financial activities
- Alerts: Suspicious activity flags referencing transactions and entities
The detailed data model is described in API Reference.
Here's how they connect:
- Each transaction must reference at least one entity (sender, receiver, or both)
- Alerts reference one or more transactions and the entities involved
- Entities can appear across multiple transactions and alerts
Upload Sequence
Due to validation dependencies, you need to upload data in this specific order:
- Entities → Upload your customer data first
- Transactions → Upload transaction data (references entities)
- Alerts → Upload alerts last (references both transactions and entities)
Working with Entities
Upload Entities
Upload your customer data directly via API. Maximum 500 entities per request.
Endpoint: POST /api/v1/transaction-monitoring/entities
Request Body:
{
  "entities": [
    {
      "entity_id": "cust-12345",
      "type": "INDIVIDUAL",
      "name": "John Smith"
    }
  ]
}
Response:
{
  "success": true,
  "processed": 1,
  "errors": []
}
Entity Requirements
entity_id: Your unique identifier for this customertype: Either "INDIVIDUAL" or "BUSINESS"- Additional fields as per your data model
Working with Transactions
Upload Process
Transactions follow a two-step process due to potentially large data volumes:
- Get a pre-signed upload URL
- Upload your transaction file to that URL
Step 1: Get Upload URL
Endpoint: POST /api/v1/transaction-monitoring/transactions/upload-via-url
Request:
{
	"format":"json"
}
Response:
{
  "upload_uri": "https://...",
  "session_id": "ed9feaca-d877-4dcd-ab6e-dcda2a8e7f07",
  "expires_at": "2028-09-15T10:00:00Z"
}
Step 2: Upload File
See full reference example here uploading-transaction-payloads-to-gcs
curl -X PUT \
  "your-upload-url-here" \
  -H "Content-Type: application/json" \
  -d @transactions.json
Transaction Data Format
Your transaction file should contain an array of transaction objects:
[
  {
    "transaction_id": "txn-001",
    "type": "DEPOSIT",
    "event_time": "2024-01-10T14:30:00Z",
    "amount": "1500.00",
    "amount_currency": "USD",
    "sender": {
      "entity_id": "cust-12345",
      "asset_out": {
        "amount": "1500.00",
        "currency_id": 840,
        "currency_type": "fiat",
      }
    },
    "receiver": {
      "entity_id": "cust-67890"
    }
  }
]
Key Transaction Fields
Required:
transaction_id: Your unique transaction identifierevent_time: ISO8601 datetime (YYYY-MM-DDTHH:MM:SS or YYYY-MM-DDTHH:MM:SSZ)amount: Transaction value as decimal string (e.g., "1234.56")amount_currency: Currency code (see currency reference endpoints)
Conditional Requirements:
- For crypto deposits:
receiver_blockchain_addressesorsender_blockchain_addressesis required - When specifying currency: Both
sent_currencyandsent_currency_typemust be provided together sender_idandsender_nameare mutually exclusive (use one or the other). Usesender_idwhen you are referencing an entity from prior API calls. Usesender_namewhen the transaction counterparty is not defined in your system, like a merchant name.receiver_idandreceiver_nameare mutually exclusive (use one or the other). Usereceiver_idwhen you are referencing an entity from prior API calls. Usereceiver_namewhen the transaction counterparty is not defined in your system, like a merchant name.
Currency Handling
You'll need to use our numeric currency codes. Get the full list from:
- Crypto:
GET /api/v1/crypto/crypto-assets - Fiat:
GET /api/v1/crypto/fiat-currencies - Chains:
GET /api/v1/crypto/crypto-chains
Example response:
{
  "items": [
    {"id": 840, "symbol": "USD", "name": "US Dollar"},
    {"id": 978, "symbol": "EUR", "name": "Euro"}
  ],
  "total": 150,
  "page": 1
}
Working with Alerts
Upload Alerts
Submit alerts with optional execution trigger. Maximum 100 alerts per request.
Endpoint: POST /api/v1/transaction-monitoring/alerts
Request:
{
  "alerts": [
    {
      "alert_id": "alert-001",
      "entity_id_list": ["cust-12345"],
      "flagged_transaction_id_list": ["txn-001", "txn-002"],
      "created_at": "2024-01-10T15:00:00Z"
    }
  ],
  "trigger_execution": true
}
Response:
{
  "success": true,
  "processed": 1,
  "execution_triggered": true
}
Alert Requirements
- Must reference valid entity IDs and transaction IDs
- At least one transaction must be flagged
- Setting
trigger_execution: truewill immediately process the alerts. If set to false, alerts can be triggered via the UI or by Axle personnel.
Retrieving Results
Get Investigation Details
After processing, retrieve detailed risk assessments:
Endpoint: GET /api/v1/transaction-monitoring/investigation/{investigation_id}
Response:
{
  "rose_investigation_id": "inv-12345",
  "processing_status": "completed",
  "risk_score": 0.75,
  "disposition": "escalate"
}
Submit Feedback
Provide feedback on investigation outcomes:
Endpoint: POST /api/v1/transaction-monitoring/rose-alert-feedback/
Request:
{
  "investigation_feedback_items": [
    {
      "investigation_id": "inv-12345",
      "status": "ESCALATED"
    }
  ]
}
Error Handling
The API uses standard HTTP status codes:
200: Success400: Bad request (check your parameters)401: Authentication failed422: Validation error (check data format)500: Server error (retry with exponential backoff)
Error responses include details:
{
  "error": "validation_error",
  "message": "Invalid entity_id format",
  "details": {
    "field": "entity_id",
    "value": "invalid-id"
  }
}
Best Practices
- Batch Operations: Use maximum batch sizes to reduce API calls
- Error Recovery: Implement retry logic with exponential backoff
- Webhooks: Set up webhook endpoints to receive processing notifications
- Data Validation: Validate data locally before submission to avoid errors
- Idempotency: Use consistent IDs to prevent duplicate submissions
Testing
Start with small data sets to verify your integration:
- Upload 2-3 test entities
- Upload 5-10 test transactions
- Create 1-2 test alerts
- Verify the investigation results